
It is the most wonderful time of the year. Isn't it?
All I hear in my head is.. Silver Bells.. and The Little Drummer Boy--Rum, Pum, Pum, Pum..
I know by now you are probably looking for the perfect decorations to make this holiday better than the last. This year I started my Christmas decorating a week before Thanksgiving --I just could not wait any longer!
I love how my house looks --so full and overflowing with texture this time of the year. It seems like it's the only time of the year that it's acceptable to decorate your home with glitter.
My theme this year is silver and gold, mercury glass, burlap, and bringing the elements in from outside--fresh greens, fur and pine cones. I promise I will share it soon!
In the meantime, I am going to show you how to make a simple inexpensive paper wreath that will shine in your home. Just in time for the weekend!

She is glorious, isn't she?

On a side note: I am obsessed with this ribbon from Walmart just $8 for 21 feet. It has the natural burlap feel that I want, but stamped with a beautiful gold damask.
You will need:
30 sheets of white printer paper
pencil with eraser
wreath form (you can make your own from cardboard or styrofoam)
hot glue gun and 3 sticks of glue
optional:
spray paint (I chose cream)
gold glitter spray

2-3. I took my pencil and pushed into the middle while wrapping the sides around to create a 'messy cone look'.
4. I hot glued the pieces of paper on the inside of the wreath going all around and then on the outside rim.

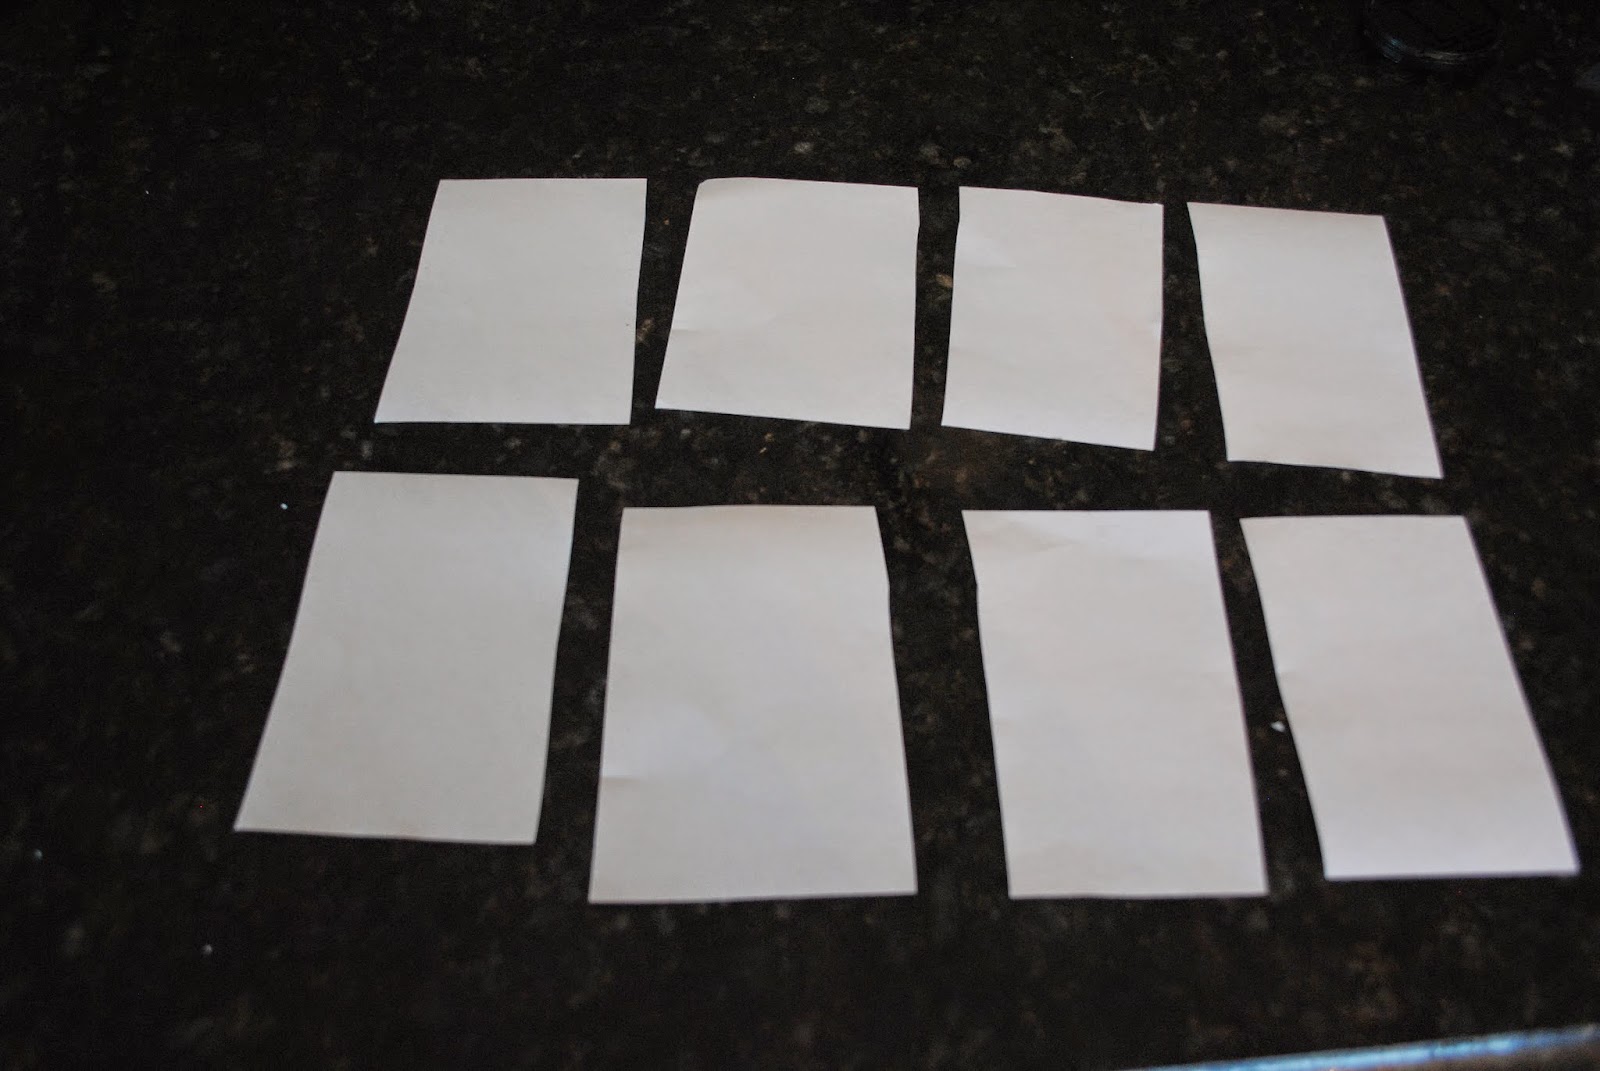
In order to fill in the gaps, I cut my paper into 8 pieces repeating the steps above.
The wreath took about an hour at this point..
A lot of bang for no money!

I spray painted the wreath with a creamy ivory spray paint I had on hand.

Then with gold glitter spray.

I displayed my wreath in my dining room.. And when you walk into my house, it pulls your eye right in.

From the kitchen view..

You could really have some fun with this project using different patterns of paper (think book pages) and even maybe using gold or silver paint. A group of three painted gold would be breathtaking.
This is a great way to add texture to a room (or your covered front porch) for the holidays that could also be used through spring.
What do you think? A project you will try?
Facebook | Pinterest | Twitter | Houzz
From my house to your house, Happy Crafting!


Linking to: Thrifty Decor Chick, Savvy Southern Style, Thrifty Decor Chick

No comments:
Post a Comment
Thanks for checking out my HUNT!